Why You Should Take a Road Trip out of Las Vegas
Las Vegas is an obvious destination for a bachelor party or a wild getaway, but it also functions as an incredible landing pad for a road trip. That being the case, we highly advise experiencing the “thrills” of Vegas AFTER the road trip, that way you aren’t feeling groggy and ill inspired before jumping in the car.
McCarran International Airport in Las Vegas is home to 11 different car rental services and it is open 24 hours a day. Therefore, you can shop around to get a decent deal for a car and be able to pick it up whenever you arrive, no matter the hour.
We rented a large SUV because we were traveling with 4 people and everyone’s camping gear had to fit in the back. The SUV was absolutely perfect; if you are worried about space, upgrade if the price difference isn’t too much, it’s worth it. We definitely suggest getting a car that has a GPS installed because when your cell phone service goes out, the car’s GPS will be able to lead you onward.
Our flight arrived into Vegas around midnight; we picked up our car from the airport, and stayed in an affordable Airbnb that was $100 dollars ($25 when split between 4 people!) just for the night in the Southeast of Las Vegas. This was great because we were able to get a good night sleep, go shopping at a super market in the morning to stock up for the first leg of the trip, cook breakfast, and pack sandwiches for the car ride.
Day 1: Drive from Las Vegas to the Hoover Dam and the Grand Canyon
On the morning of our first day, after we did our shopping and finished breakfast, we checked out of our Airbnb and hit the road. Our first stop was to pick up our camping gear from Desert Adventures. Their rentals were very reasonably priced and the location was ideal for a road trip from Las Vegas, located Southeast of Las Vegas.
Camping Rental List for 4 People
- 2 Tents (First 2 days – $40, Each additional day – $5 per tent)
- 4 Sleeping bags (First 2 days – $18, Each additional day – $2 per sleeping bag)
- 4 Sleeping pads (First 2 days – $10, Each additional day – $2 per sleeping pad)
- 1 Cookset Basecamp (First 2 days – $20, Each additional day – $5 for the set)
- 4 Folding chairs (First 2 days – $5, Each additional day – $2 per chair)
- 1 Roll table (First 2 days – $10, Each additional day – $2 per roll table)
Once we had the car masterfully packed up, we headed for our first fun stop of the road trip; the Hoover Dam. Located just over a half an hour east of Las Vegas, the Hoover Dam is a must see. We drove across the dam (keep your eyes on the road – you’ll be back on foot!) and found a parking lot about a 10 minute walk away.
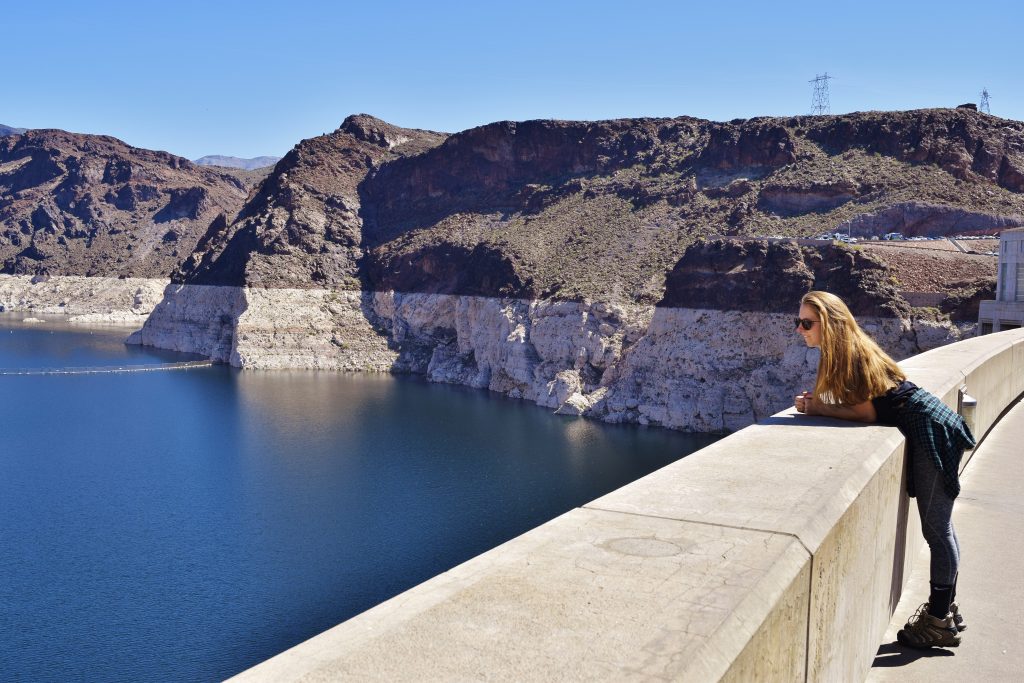
There are plenty of companies where you can buy tours of the Hoover Dam, but we decided against it – we just wanted to walk around and soak in the immense mass of concrete. A tour would have been amazing but we were all just too excited to get to the Grand Canyon.
Once we had our fill of pictures, we walked back to the car and began the 4 hour drive to the Grand Canyon. To break up the drive, we impulsively made a stop at an amazing town called Williams which is located around Historic Route 66. The feeling of nostalgia was alive in this now relatively quiet town, but I could only imagine what it must have been like in its hay day.
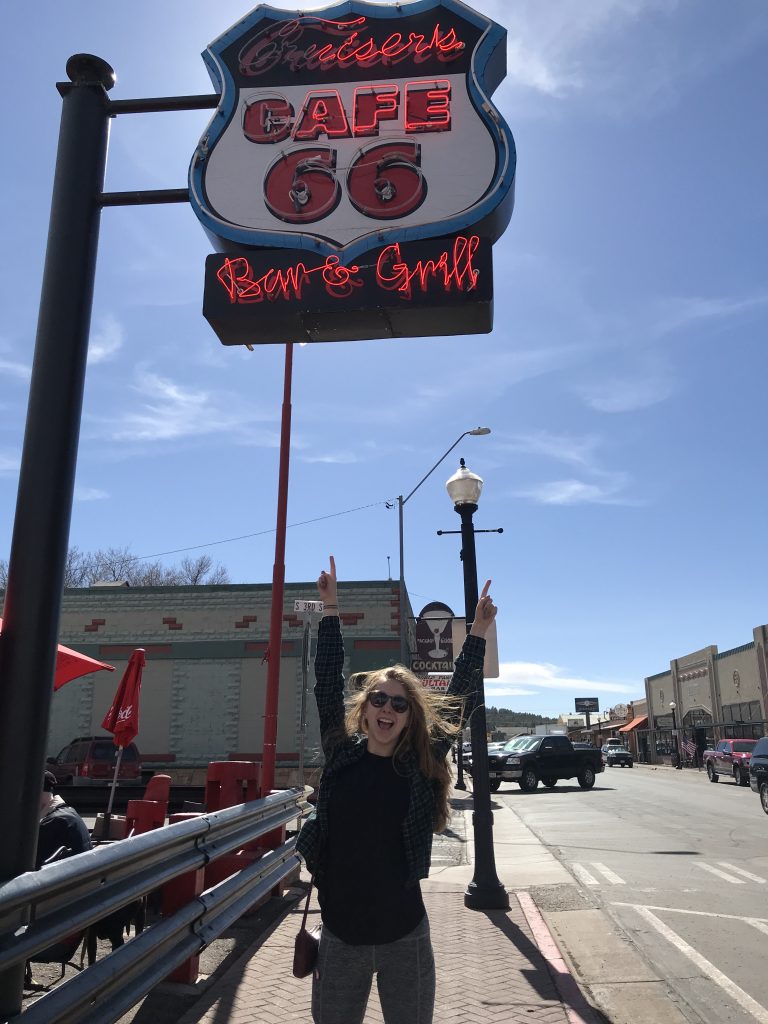
In the town, we found Grand Canyon Brewing Company which is one of the coolest breweries any of us had visited. The brewery taproom was decorated like a lodge with beautiful woodwork, a fireplace, and had a mini river running through the middle of the room. However, our favorite part of the brewery was their prices – coming from New York it was so affordable! We all vowed to go back one day.
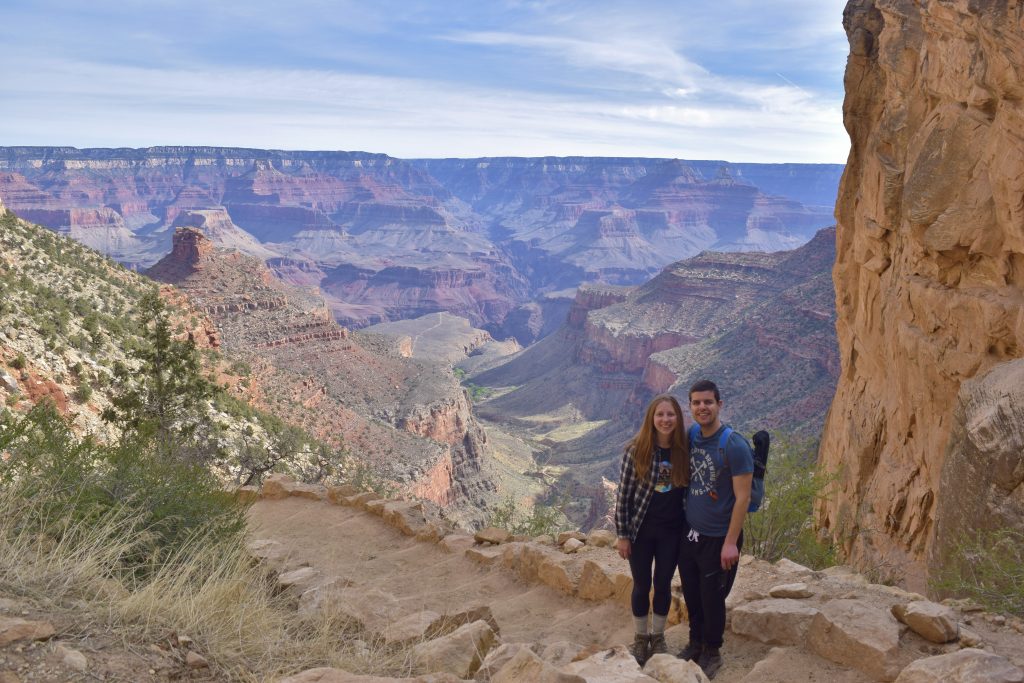
The rest of the drive was only an hour, and we made it just in time for a sunset hike to Shoshone Point. We spent two nights in the Grand Canyon, hiking during the day and sitting by the campfire at night telling stories. If you want more information on camping and hiking in the Grand Canyon, click here.
Day 3: Drive from Grand Canyon to Bryce Canyon
After spending two incredible nights at the Grand Canyon, we broke down our tents, jammed the car full (less successfully than the first day when everything was nicely packed) and headed out. We took one last look at the Grand Canyon at sunrise and then ventured on to our next destination; Bryce Canyon.
The drive between the Grand Canyon and Bryce Canyon is about 5 hours, so similar to the first day we added a stop, this time Antelope Canyon which is 2 and a half hours from the Grand Canyon South Rim and is located very near Page, Arizona. This is where we ran into our first hiccup.
If you are planning on visiting Antelope Canyon, book a tour ahead of time. To see Antelope Canyon, you must be on a tour due to the limited space available within the canyon. We were not aware of this and were unable to book a tour for the same day. We were bummed out, but thankfully there is another natural wonder only ten minutes away; Horseshoe Bend!
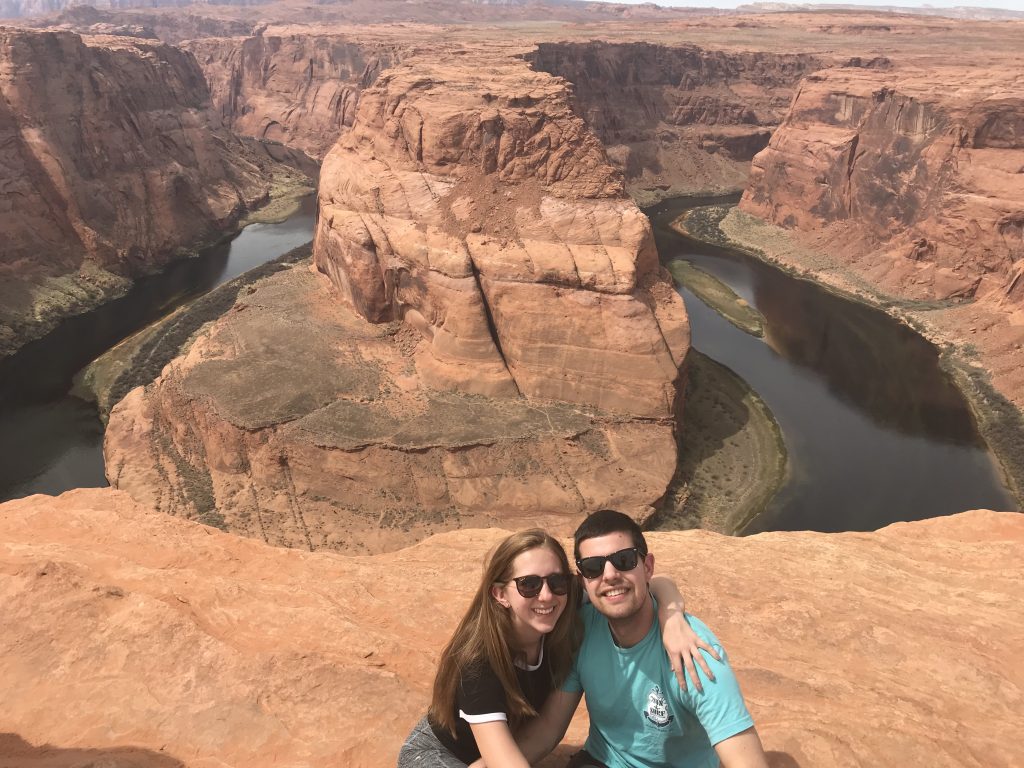
We drove over to Horseshoe Bend which is free to the public and you are not required to book a tour. There is a large parking lot where you can leave your car (if it’s full you can park on the side of the road) and take the small hike up to the bend. We spent about an hour there taking pictures and walking around, which is all the time you really need to sufficiently see it all.
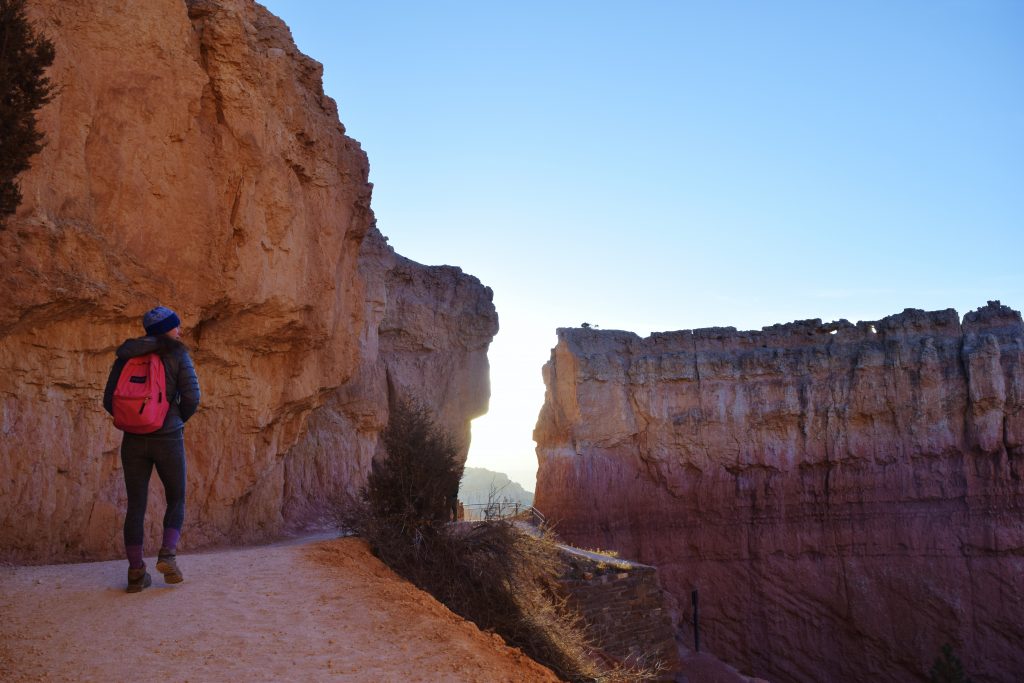
From Horseshoe Bend we decided to take a stop in Page, Arizona at State 48 Tavern to have a beer and a bite to eat. We sat at the bar and had a nice, relaxing stop which was much needed before jumping back in the car for the 2 and a half hour drive to Bryce Canyon. If you want more information about how to spend one full day and night in Bryce Canyon, click here.
Day 4: Drive from Bryce Canyon to Zion Canyon
After spending a full day in Bryce Canyon on the 4th day, we headed to Zion Canyon for our last national park stop of the road trip. We were comfortable spending a good portion of the morning in Bryce Canyon because the drive is only an hour and a half to Zion.
Entering Zion from the east on Route 9 is an experience you will never forget. Between the unforgettable cliffs rising all around you to the 1.1 mile Zion-Mount Carmel Tunnel which is literally carved through a mountain. You’ll want to be awake for this one! (If you’re driving, you should always be awake, guys – this was meant for weary passengers.)
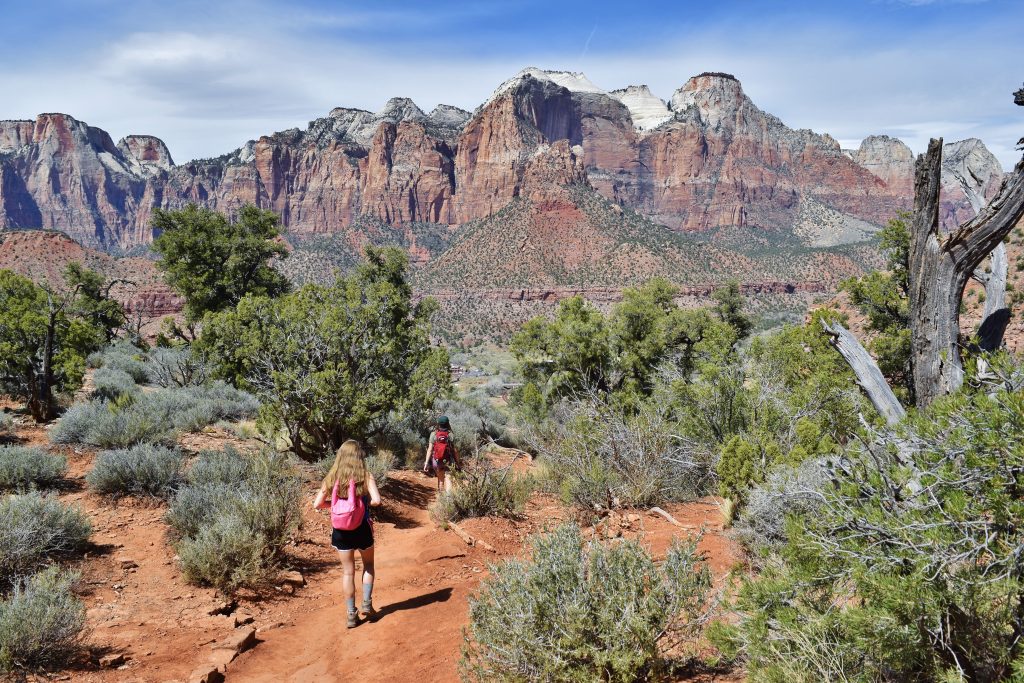
We spent two nights in Zion and went on many incredible hikes! If you would like more information on camping and hiking in Zion over 2 days, click here.
Day 6: Return to Las Vegas
We don’t really count day 6 as part of the road trip because while it’s just the journey back to Vegas which is a short 2 and a half hour drive. This will either begin your Las Vegas adventure or it will mean going back home. The last thing we had to do was return our rental camping equipment and drop off the car back at the airport. Successful road trip through three of the most amazing national parks in the US!
To make our flights out to Las Vegas worthwhile, we added 4 nights in Las Vegas to the end of our trip. Looking back, 4 nights may have been excessive in Sin City – I think we would have survived with just 2 nights.
Helpful Tips for Your Road Trip from Las Vegas
- Always have water with you, even if you have been told that a campsite has water. In our experience in late March / early April, water was scarce in campgrounds and we had to rely on gallon jugs from the store. Also, bring plenty of water on your hikes – it gets scorching hot.
- Make sure to fill up on gas whenever you are about to go a long stretch of the journey because gas stations are few and far between. As long as you manage your gas well you shouldn’t have any problems, none of the drives are terribly long as long as you break them up.
- Rent camping gear if you plan on camping in the parks – it is very affordable and then you don’t have to worry about trying to get your tent poles through security at the airport.
Pin it to Pinterest

Comments
Thank you for sharing your trip and such good tips and pointers! We are heading out there in March, and planning a similar trip.
Hope you enjoy!